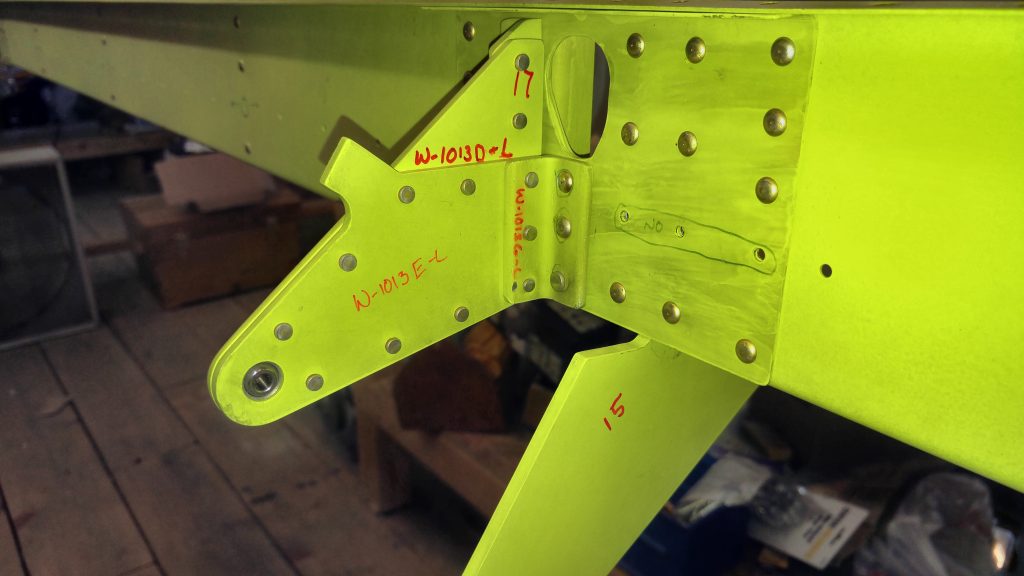
Beware Page 26-5!

In searching the internet for another topic, I came across the following blog post from Justin Twilbeck in 2012:

https://buildingrv10.blogspot.com/2012/10/fuselage-frustration.html

This set my senses tingling, and I slowly turned around from my computer to see F-1015A-L happily waving its joggled flange at me–from OUTSIDE the F-1004D-L channel.

Subsequently, I searched on VAF for F-1015A-L and found this gem of a post from 2010:

https://vansairforce.net/community/showthread.php?t=56456

This is going to require some re-work, and while it shouldn’t be too bad, it brings to light a serious deficiency in the RV-10 plans. While I was working on Page 26-5, I kept thinking that something was wrong with the 1015A ribs, but I couldn’t put my finger on it. There is very little mention of them at all in the plans.

I’m hoping that by posting this and adding to the VAF thread, I can help other builders who might be running into this problem.

RV-10 Fuel Tank Baffle Sealant Usage

I finished the RH fuel tank and measured the amount of sealant I used during the baffle installation. I applied a thin coat of sealant to both sides of all mating surfaces, with the exception of the baffle flanges, which I did mostly per Van’s instructions. For that part I used a 3/16″ bead forward of the rivet line, and a smaller bead just aft of the rivet line to allow some smearing between the mating surfaces.

For this baffle, I mixed batches of sealant ahead of time and froze them (for about an hour before actual use). I mixed four small batches, of 77g, 77g, 110g, and 121g, for a total of 385g. At the end, I had 89g remaining (a lot of waste), including 10g that was held up in the nozzles (2 used, 5g each) of the Semco pneumatic applicator gun. This results in a total of 296g applied to the tank and lost to clecoes, cleaning, etc. This matches fairly closely what I think I used for the LH tank baffle sealing.

Governor Wolf’s Medical Supply Confiscation / Reallocation Order is Bad Economics

Reading yesterday about Pennsylvania Governor Tom Wolf’s order issued Wednesday allowing for the confiscation and redistribution of medical supplies, and stewing over it for some time has me convinced that it is tremendously bad policy, counter to all concepts of property rights, and likely to be counterproductive.

In thinking about this problem, I have identified some main points I would wish to address about this order:

The principle: It is a violation of private property rights, the cornerstone of our free economy. Further erosion of this essential principle would cause irreparable harm to our economy and way of life.

The knowledge problem: The state government is nowhere near knowledgeable enough to be able to quickly and efficiently identify where medical supplies are needed most. This is a problem properly in the scope of markets, not central planners.

The potential for abuse and unintended consequences: While the Governor and his advocates insist that this policy is not intended to strip rural areas of lifesaving supplies in an attempt to save more lives in areas hit harder by the disease, there is tremendous potential for abuse.

The seen and the unseen: While we may see what look like improvements in the abilities of areas with higher population densities to treat cases, we will not see (at least at first), the extent to which this may cripple the rural response ability. This order may have the effect of essentially making it impossible for rural or remote hospitals to procure any new supplies at all in the near term. They will need to wait needlessly for government bureaucrats’ approval of their needs before procuring needed supplies. We will not see (at first) the effects of this order on the treatment of other conditions, which may be precluded by the unavailability of medical consumables and devices that are needed to treat patients with chronic diseases such as cancer, and heart/lung conditions.

The slippery slope: Orders like this smack of old Soviet-style allocation and rationing, which would be disastrous policies to adopt. In the event that such a policy were even moderately successful, or at least not a complete failure, in this pandemic situation, it could lead to very dangerous precedent being set in our modern economy.

Of course these are not the only points that could be raised, such as the arbitrary indexing of any compensation to material prices dated March 6, but they are the main ones that come to me.
Sealing the Fuel Tanks – Part I

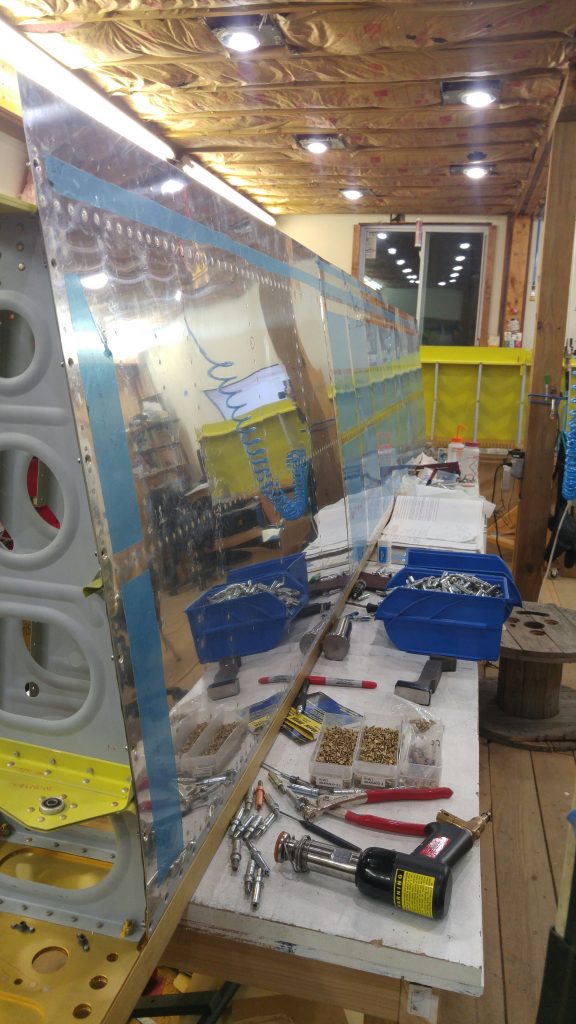
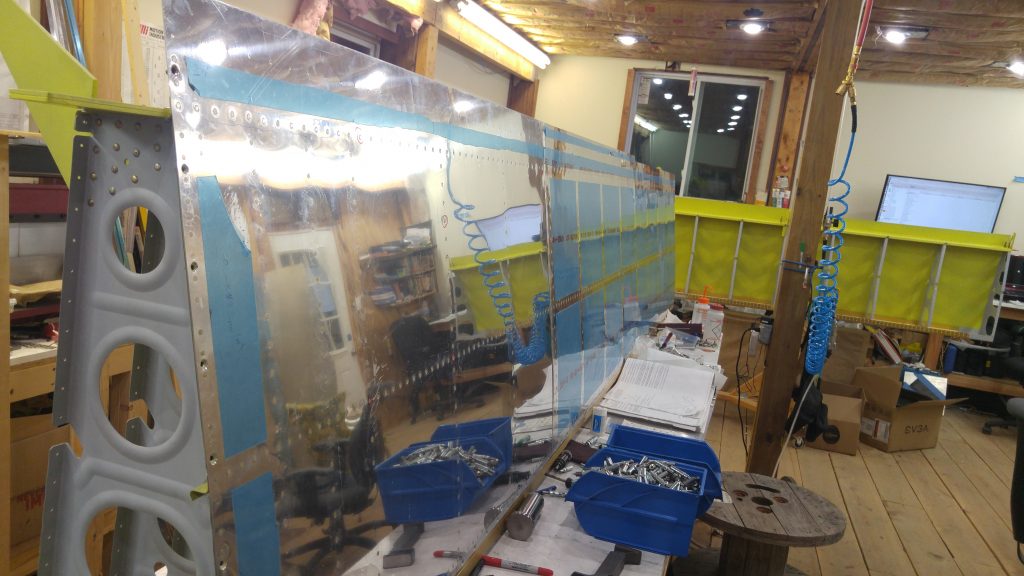
Today I started to seal the left wing fuel tank.  I decided to follow the method laid out by Rick Galati at Van’s Air Force.

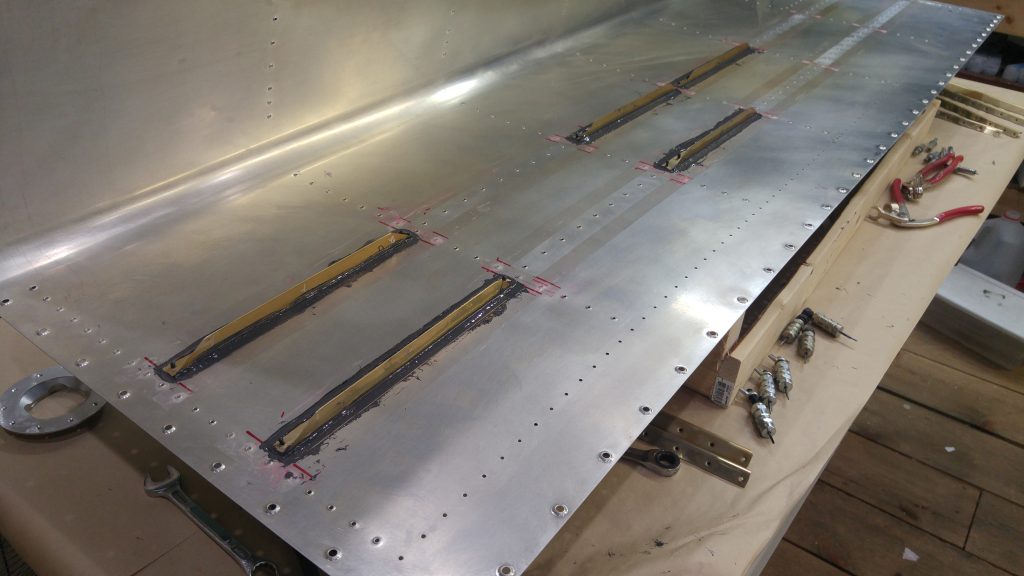
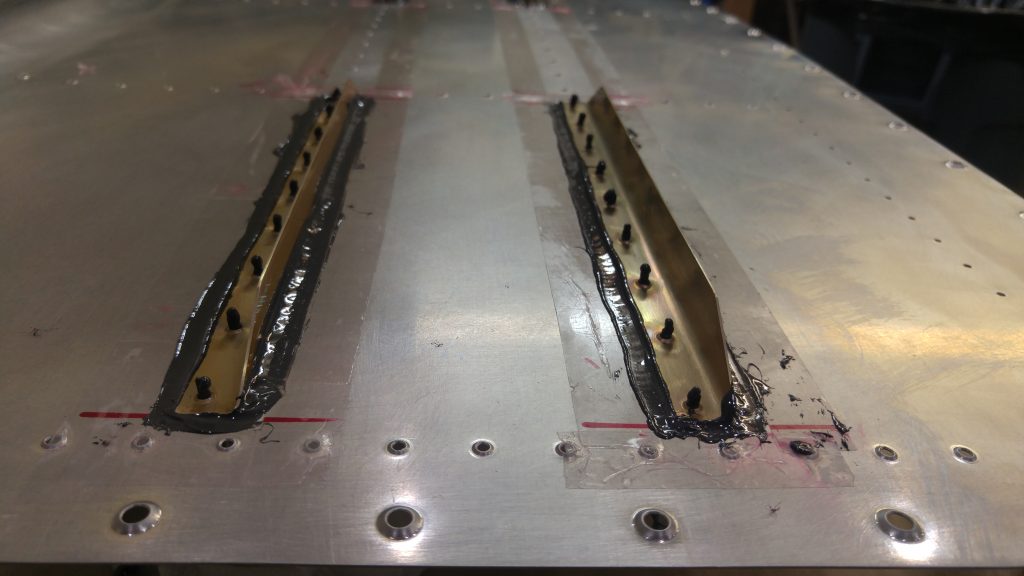
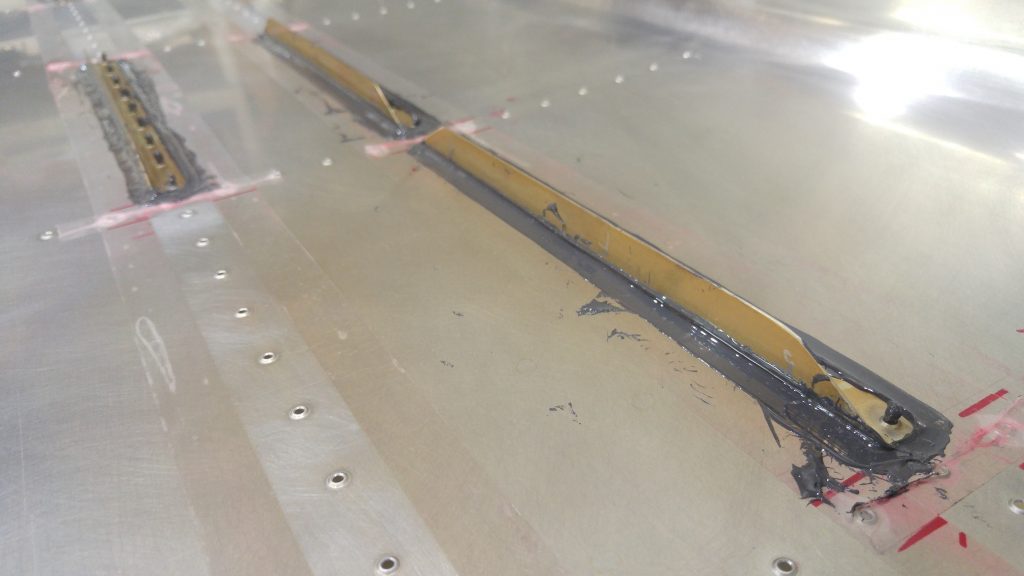
The method involves fay sealing surfaces and allowing the sealant to partially cure before riveting.  It is supposed to be less messy, and after handling the sealant for a while, I can imagine that trying to shoot rivets with this wet material everywhere would be quite frustrating and sloppy.  I masked off the area around the stiffeners to allow for easier clean-up after a partial cure.  We’ll see how that works out tomorrow.

As it was, the method is (so far) not terribly messy, as long as you’re willing to sacrifice a ton of nitrile gloves to prevent spreading the sealant around too much.

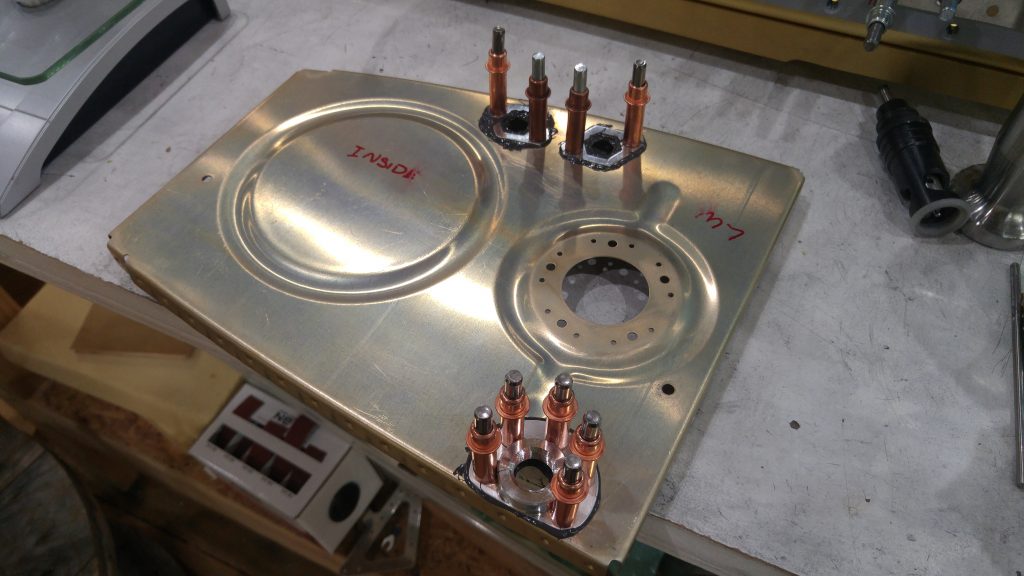
Today I prepped and sealed the left wing tank inboard rib hardware (fuel flange and anti-rotation plates) and five of the fourteen tank skin stiffeners.  I could have done more, but had only mixed 55g of the sealant (50g Part A : 5g Part B).  That was just exactly enough for the pieces I worked on today.  Perhaps I could have been a little less generous at first and got another stiffener or maybe two, but it looks like you need about 10-11g of sealant for each stiffener, including losses to the pot and gloves, etc.

When I opened the can, my first thought was:  “Wow, that’s a polysulfide!”  And sure enough, it is, according to the manufacturer.  It has a rather rich aroma.

Here’s what I accomplished today.  More tomorrow.

The inboard rib hardware:

The stiffeners:

Easy Peasy Rivet Squeezy

I finished replacing the rivets in the inboard aileron bracket on the left wing that I mentioned in my last post.  They look much better now, and I will not be worrying about them anymore.  It is amazing how thinking about these has actually slowed me down for a while, until I finally just got up the nerve to drill them out and replace them.  I have replaced other rivets before, but I was nervous that in drilling these out, I would damage the aileron bracket and have to build it all over again.  I just jumped in and did it this evening with no issues.  Glad that is behind me!

After that, I clecoed the top skins to the left wing and prepped it all to begin riveting as soon as I can get a helper.

Right wing leading edge complete and shop cleanup

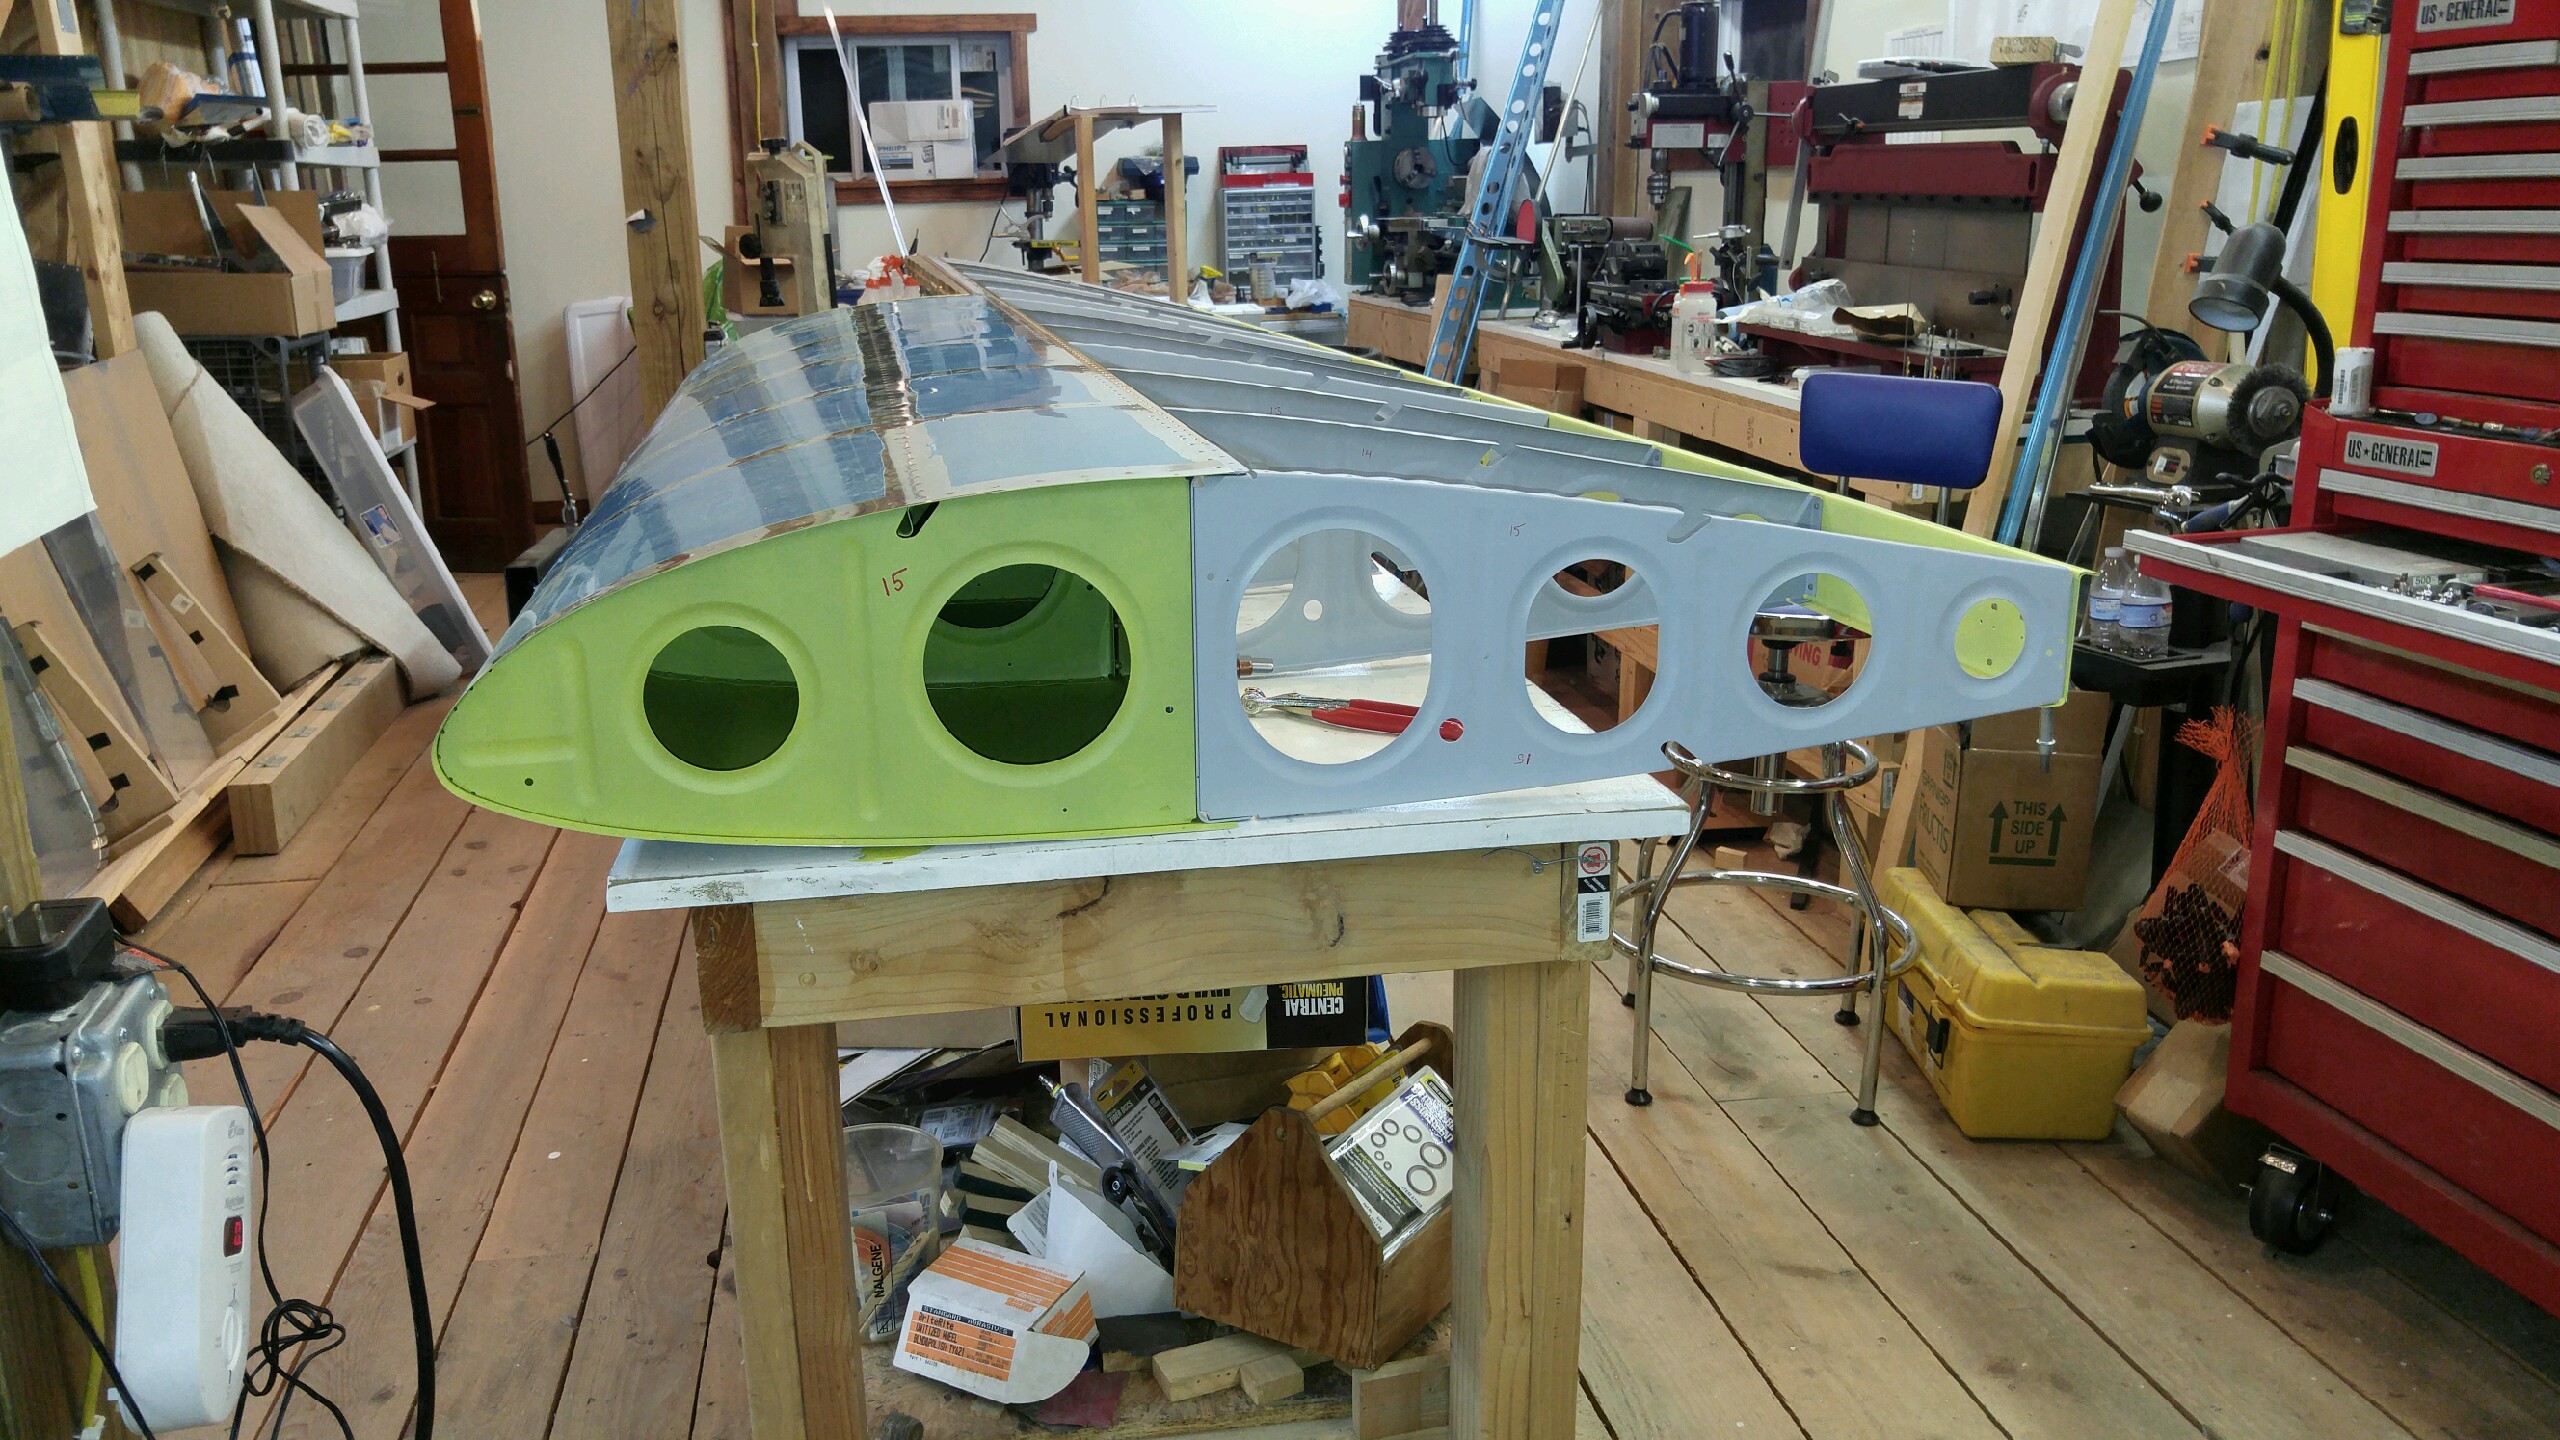
Yesterday I completed the right wing leading edge, cleaned up some shop area, moved the tail cone to a better storage location, and then made a test fit of the left wing leading edge to the main spar. The fit looked good.

I have one rivet I need to drill out and re-set on the left wing rear spar, and then I will begin the top skin riveting process.