Finished Deburring the Wing Ribs!

I finally finished deburring all of the remaining leading edge and fuel tank ribs for both wings.  This incredibly tedious job was made much quicker by the use of some small abrasive wheels that had been recommended on VAF.  I had seen these months ago but never got around to buying any until last week.  They enabled me to cut down the time to finish deburring a rib from close to an hour to more like 10 minutes.  Unbelievable!

I primarily used the 3M wheels for finishing and polishing and the Brite Rite wheels for roughing work.  I only used about 3 Brite Rite wheels (they are very durable, but remove a lot of material) and about 10 3M wheels.

It is such a relief to be done with this part of the build!  When I have to deburr ribs in the fuselage, I will definitely be using this technique.  It should work for all kinds of other parts as well.  I’m going to order lots more of these wheels.
 

Oil Change Trick

I was changing the oil in 2884L the other day, and I was looking for a way to minimize oil spilling while I remove the oil filter.  The O-320 in the Warrior has a horizontally mounted oil filter on the top rear of the engine.  Removing the filter usually results in a cascade of hot, dirty oil down the back of the engine, all over the fuel pump, and the inside of  the cowling.  The clean-up is no fun.

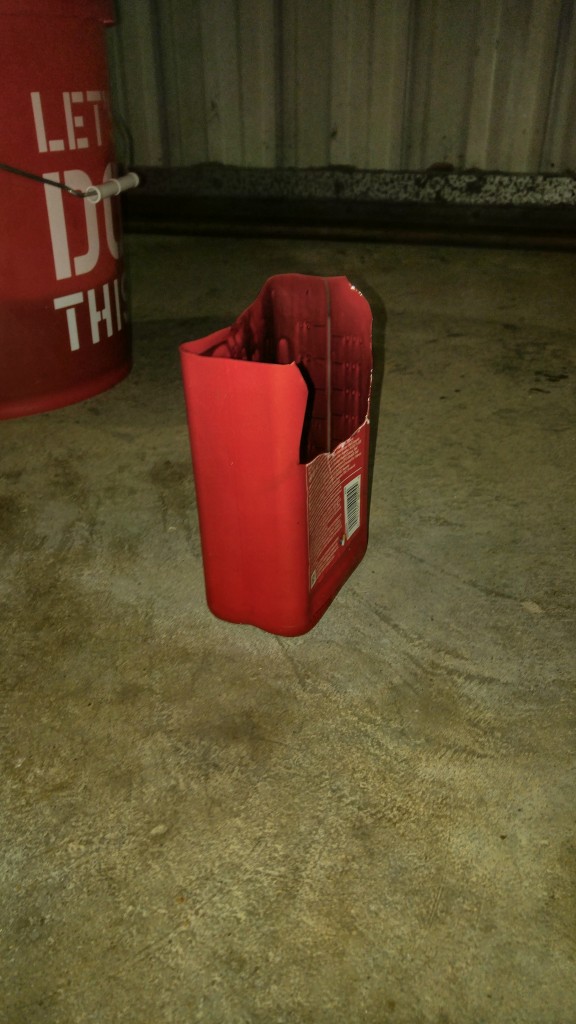
I had tried a few methods in the past, but all resulted in spills and pain-in-the-ass cleanups.  I tried something new this time.  I cut the top off an old oil bottle and then made a relief cut in one long side of the bottle.  This allowed me to position the bottle below the filter at an angle.

20161223_180018.jpg

I don’t have a picture of the oil catcher in use, but I didn’t spill a drop.

Future mods may include a strap to hold the bottle in place but it works just fine by hand.

Countersinking Large Screw Holes

Countersinking large screw holes for nutplates in thin sections of sheet is no fun.  The countersink bit tends to wander and make a hash of the hole.  I thought about how to minimize chatter and keep the bit centered for a few minutes and came up with this:

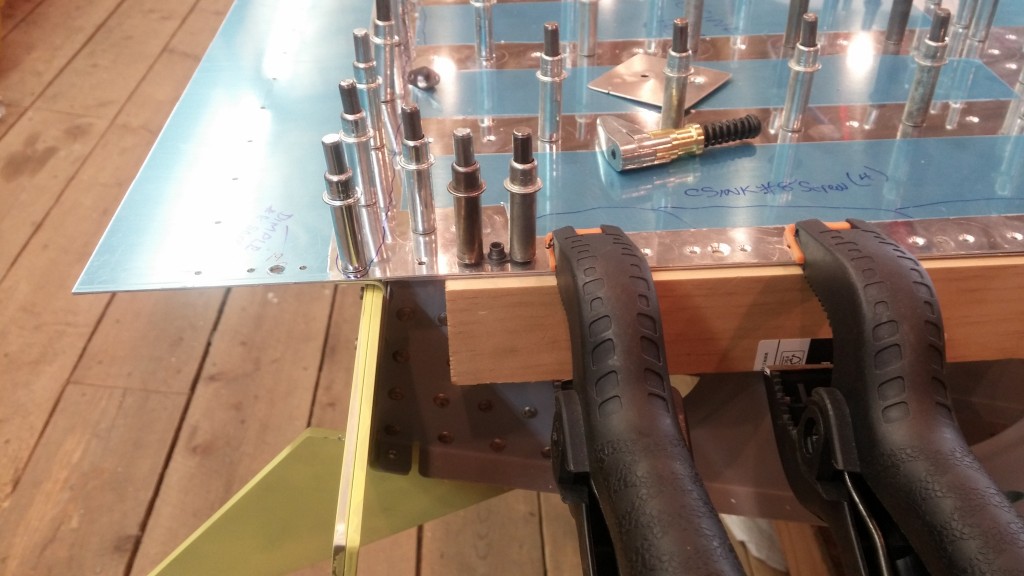
First, I cut a piece of wood to fit a small area along the line where the nutplates are.   In this case, the nutplates will eventually hold the wing root fairing on the left wing.  I clamped the piece of wood in place and drilled #40 holes in the wood to correspond with the nutplate rivet holes.  Then I clecoed a nutplate through the top of the skin into the wood.

wp-1480301243828.jpg


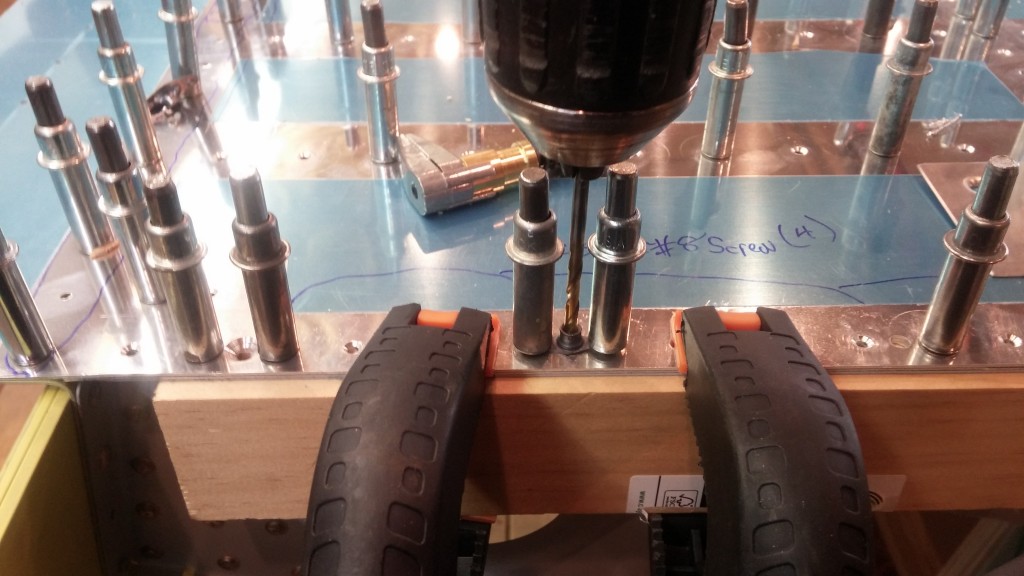
Then I used the nutplate as a drill guide to drill a #30 hole in the wood below, centered on the screw hole in the nutplate.

wp-1480301648898.jpg

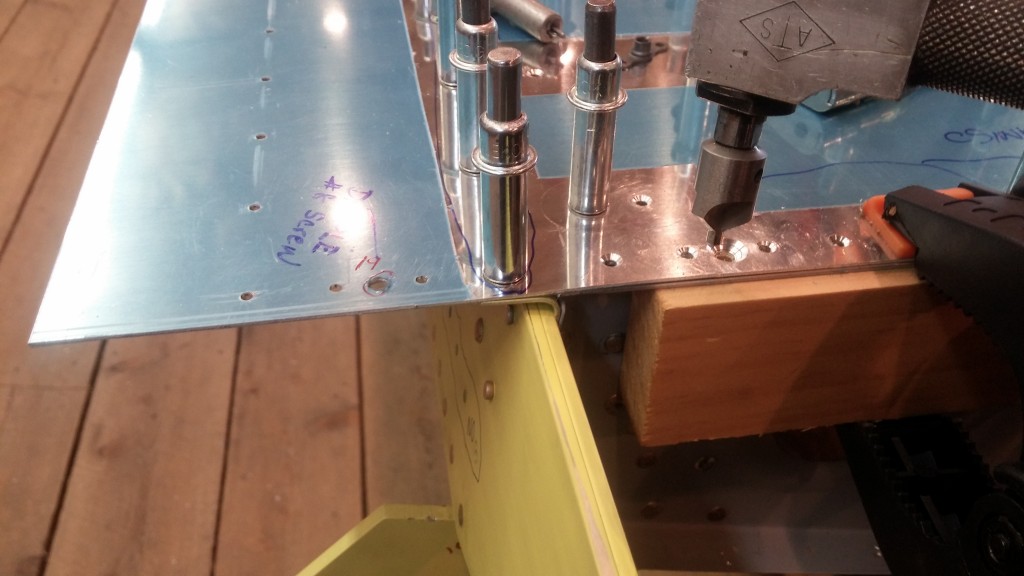
Next, I used my 90 degree drill and a #30 piloted countersink bit to carefully make the appropriate countersink (in this case, to accept a sheet above dimpled for a #8 screw.

wp-1480301487453.jpg


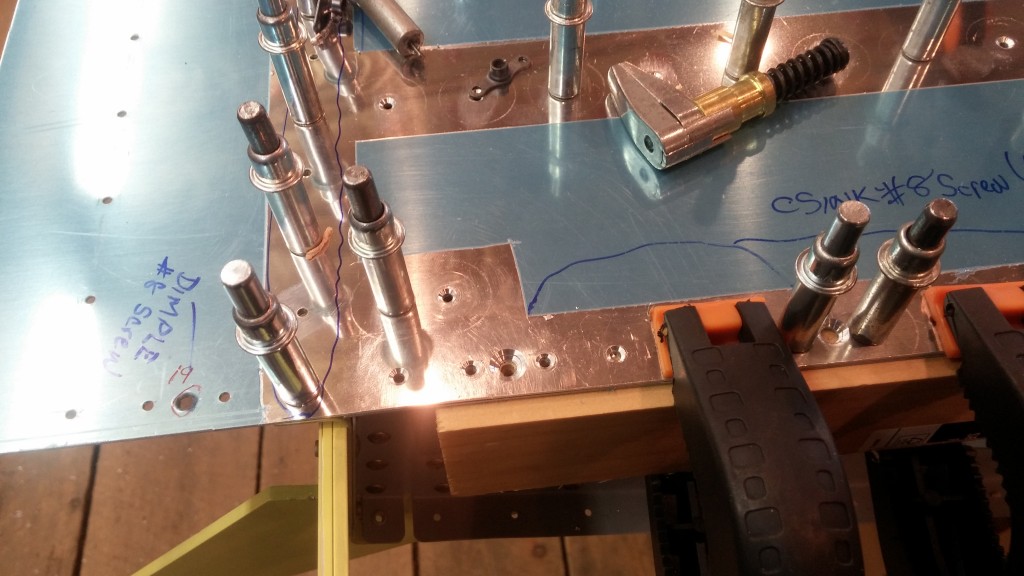
Finished product is a well centered countersink with minimal chatter.  I used pine wood here but in the future I will use oak or another hardwood because the pine is so soft, and allows a bit of movement to the countersink pilot.

wp-1480301469896.jpg